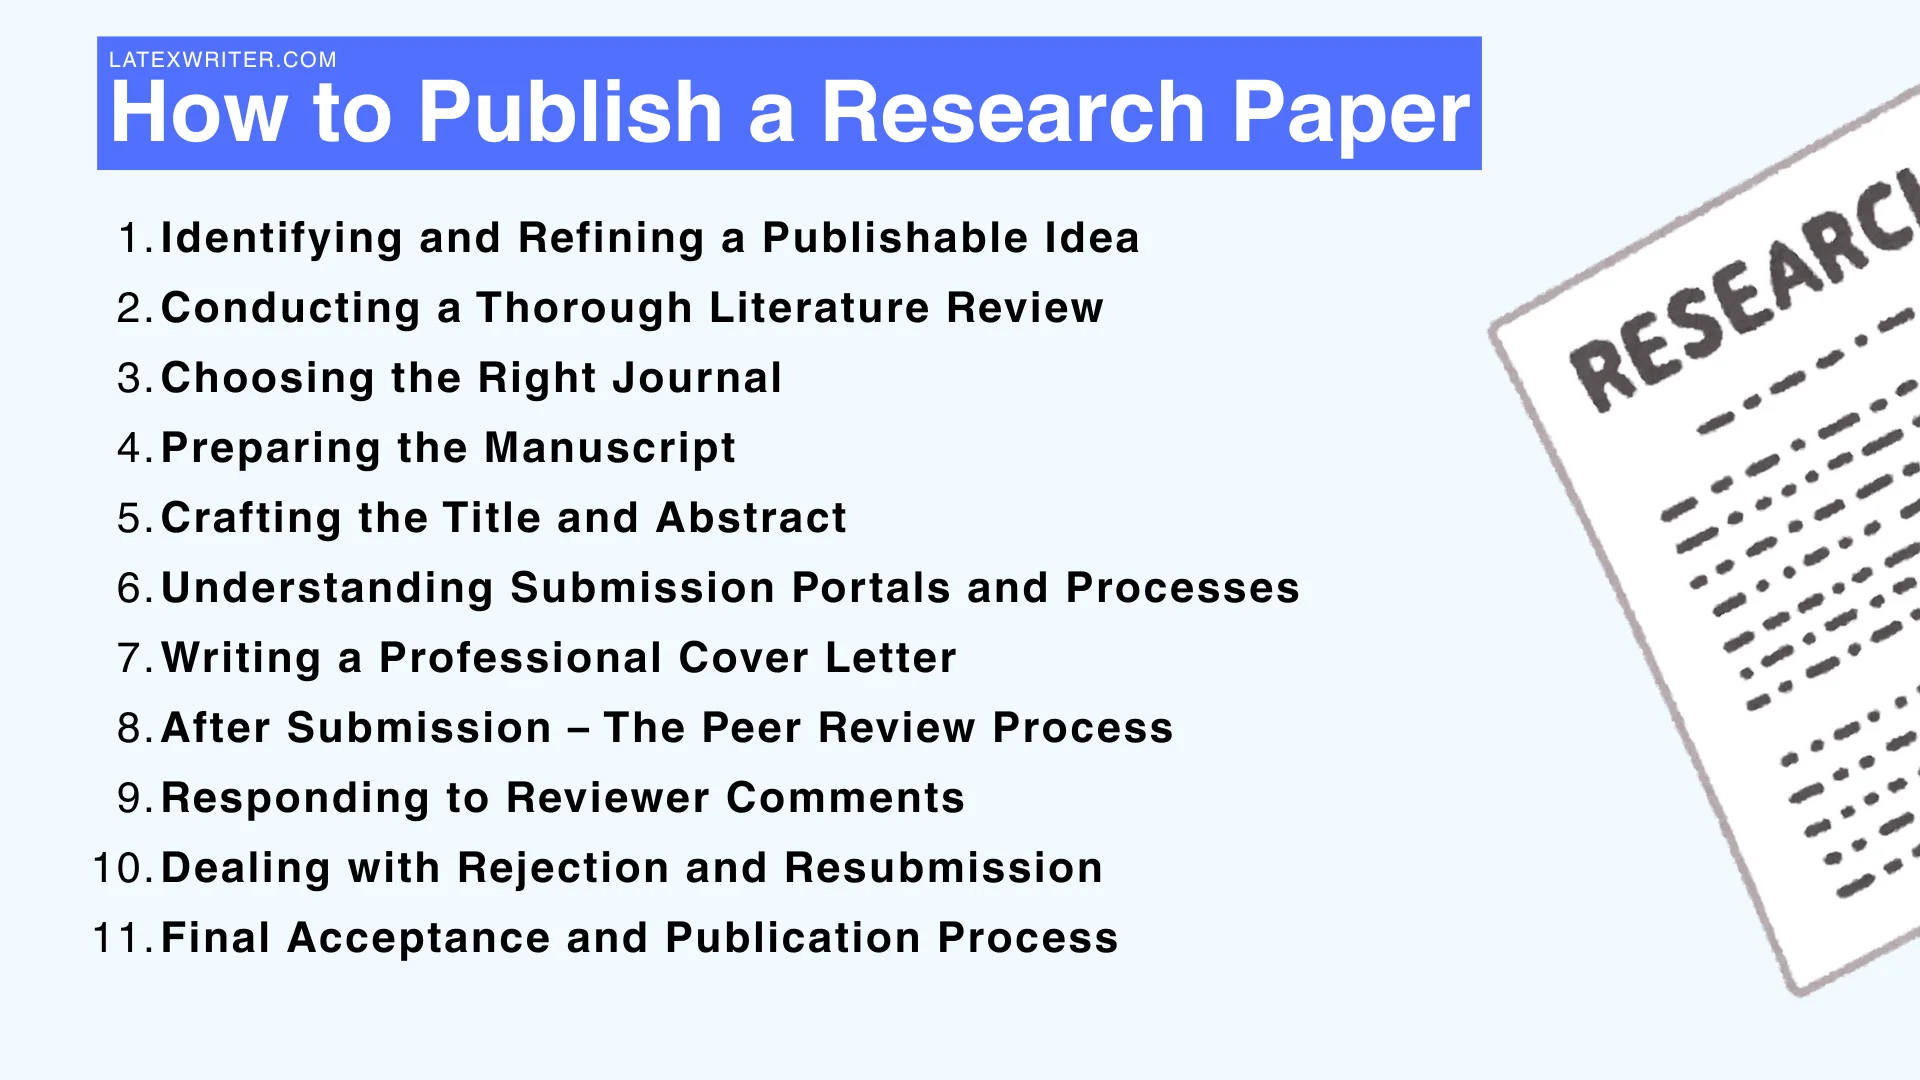
How to Publish a Research Paper
Written by LaTeX Writer Official on OCT 18, 2025
Publishing peer-reviewed articles is a key goal of most doctoral programs. Papers demonstrate that you can do independent research, contribute new knowledge to your field, and communicate results clearly. As Pat Thomson (a UK education professor) notes, writing papers during your PhD can help you "see yourself as someone who has something of importance to contribute" and build confidence in your scholarship. Publishing early also strengthens your CV: in competitive fields, candidates with pre-PhD publications are often viewed more favorably for postdocs and faculty jobs. In short, well-timed publications signal productivity and expertise, and can accelerate your career trajectory.
 Tip: Begin thinking about publication early. Work with your advisor to decide which parts of your thesis could become standalone papers. Not all research is publishable while you're still collecting data, but where possible start writing draft sections alongside thesis work. Even drafting an introduction or methods section can clarify your ideas and highlight any missing data or analyses.
Step 1: Identifying and Refining a Publishable Idea
A publishable idea typically addresses a clear research gap or question in your field. Start by asking: what is novel about my results, and why do they matter? If you've already collected data, identify the most significant findings or a unique method to highlight. If you are still in planning stages, refine your research question so that it is specific and testable. Talking with your advisor and peers can help – they may suggest angles you hadn't considered or point out if your idea is already well-covered by others. Look for problems or anomalies in existing studies that your work could solve.
As you refine your idea, make sure it can be framed within one or more typical article types (e.g. original research, brief report, review). A common pitfall is trying to pack too much into one paper; instead, focus on a coherent story or key finding. You might break a large project into multiple papers, each with its own clear goal. Also check that your idea is not too incremental: top journals tend to favor work that offers new insights or methods.
Practical tip: Draft a one-paragraph summary of your planned paper, stating the research question, approach, and main result. If you struggle to write this clearly, your idea may need more work. Ask colleagues to critique it – if they don't get why it's interesting, rethink your angle. Once the idea is clear, you'll have a stronger foundation for writing.
Step 2: Conducting a Thorough Literature Review
A literature review ensures your work truly breaks new ground and helps you frame your manuscript. Use academic databases (e.g. Google Scholar, Web of Science, PubMed, IEEE Xplore depending on your field) to find all recent relevant papers. Search broadly at first, then narrow to key terms and landmark studies. Read and take notes on major findings, methods, and debates. Tools like Zotero, Mendeley, or EndNote can keep your references organized. (For example, Mendeley "makes your life easier by helping you organize your papers, citations and references" across devices.)
Your goal in the review is to pinpoint the gap your work fills. Summarize what is known and explicitly note any shortcomings or open questions. This will help you write the Introduction later (and explain significance to reviewers). At the same time, gather citations as you go so you're ready to reference relevant work. Make sure to read the most recent and high-impact papers in your subfield, as reviewers will expect familiarity with the latest literature.
Pitfall to avoid: Don't cite only old or tangential papers; reviewers will check that you know the current state of the field. Also avoid missing key studies by only searching titles – use cited-by features and author name searches. An incomplete review can make your work seem uninformed. Set up alerts in databases or Google Scholar to notify you of new papers on your topic while you write.
Step 3: Choosing the Right Journal
Selecting a target journal before you write is strongly advised. When you tailor your manuscript to a specific journal's audience and style, editors see how it "matches with the aims and scope of the journal," improving your chances of acceptance. First, list journals that publish work like yours. Consider scope (does the journal publish your article type?), audience (specialized vs. general), and prestige (impact factor or ranking) depending on your goals. Read recent issues or use tools like Elsevier's Journal Finder or Springer's Journal Suggester: these allow you to input your abstract or keywords to get suitable journal suggestions. Also check Clarivate's Journal Citation Reports or SCImago for journal metrics, but remember these are just one measure of quality.
Evaluate each journal for fit: look at its typical article length, number of figures, open access policies, and whether it accepts submissions from non-authors (some invite-only journals exist). Check the acceptance rate and review time if available (some journals publish stats on editorial processing speed). Importantly, avoid predatory journals. Stick to well-known publishers or those indexed in major databases; you can verify on the Web of Science Master Journal List or DOAJ for open-access journals.
Key tip: Always read a journal's Aims & Scope and Instructions for Authors (IFAs) before deciding. A mismatch in scope is a common reason for desk rejection. Also, if you have co-authors, discuss the journal choice together – senior collaborators may have preferences or experiences to share.
Step 4: Preparing the Manuscript
Structure and Formatting
Once you know your target journal and have your data and literature, draft the manuscript following the journal's format precisely. Most research papers use the IMRaD format: Introduction, Methods, Results, Discussion (though some fields have variations). Use clear section headings as required (some journals also want separate Conclusions, or integrate Discussion and Conclusions). Many journals provide Word or LaTeX templates – use these so your paper meets formatting rules from the start.
Read a few recent articles in your journal to see how they structure introductions and discussions. Mimic their style: for example, some journals prefer a brief introduction with no subheadings, while others allow detailed background sections. Write clearly and succinctly; long rambling text can frustrate reviewers. Use active voice where appropriate and avoid jargon where possible. Have a colleague or writing center review your draft for clarity and grammar before submission.
Before finalizing, check every journal requirement: font size, reference style (APA, MLA, Vancouver, etc.), numbering of sections, word or page limits, and figure/table formatting. Journals often desk-reject papers that don't follow basic format rules. For example, J. Grad. Med. Educ. notes: "papers that do not follow the author instructions carefully…will be rejected immediately". Many journals also have guidelines on data sharing, supplementary material, and ethics statements, so prepare those as needed.
Figures and Citations
Create high-quality figures and tables that can stand alone (legible labels, consistent fonts, cited in text). Caption them fully so a reader can understand without reading the main text. Convert them to the journal's preferred formats (often TIFF or EPS for images, and table in Word or Excel form). For citations, use a reference manager to auto-format them. Make sure every citation in the text appears in the reference list and vice versa. Double-check accuracy of each reference (author names, year, journal title, DOI). Consistency is crucial.
Pitfall: Don't leave figures blurry or unlabeled, and don't cite irrelevant or low-quality sources. Also avoid self-plagiarism: if you're reusing text from your own thesis or another paper, rewrite it in fresh language.
Step 5: Crafting the Title and Abstract
The title and abstract are your paper's first impression (often the only part many people read). Write a concise, informative title that includes key terms. Avoid abbreviations or acronyms that readers might not know. For example, instead of "Efficient nanoparticles for drug delivery," you might write "Dendrimer-based nanoparticles enhance targeted drug delivery in cancer cells." Make it specific: what did you do and where.
The abstract should be a standalone summary of your work. Typically it's one paragraph of 150–300 words. It should briefly cover:
- Background – the problem or gap addressed
- Methods – how you studied it
- Results – the most important findings
- Conclusions/Impact – the interpretation and significance
Use past tense (you did these experiments) and avoid overly technical detail. Do not simply copy-and-paste sentences from the introduction; the abstract needs to be clear on its own. Include a sentence or two of your major quantitative results if applicable, and state clearly why they matter.
For structure, Brandeis University's writing guide suggests including at least one sentence on each of the four parts above. For instance: "We investigated [question] (Introduction). Methods: "We performed a double-blind trial using X" or "We engineered Y and tested it in Z." Results: "We found that X increased by 50% under Y (p<0.05)". Conclusion: "These findings suggest X could improve Y in real-world applications." Be concise: every word in the abstract counts.
Tip: Write the abstract last, after the manuscript is polished. Then revise it to match exactly what appears in the paper. Have a fresh pair of eyes check it: if someone unfamiliar with your work can't summarize the abstract in their own words, clarify it. Remember, a strong abstract helps editors decide to send your paper out for review.
Step 6: Understanding Submission Portals and Processes
Most journals use online submission systems (e.g. Editorial Manager, ScholarOne, or a publisher-specific portal). When you're ready, go to the journal's webpage and click "Submit Manuscript" (often found on the author information page). You'll usually need to create an account for the system or log in if your university already uses that platform.
The submission process typically has steps:
Enter Manuscript Details: Title, abstract, author list and affiliations (list all co-authors with contact details), keywords, funding sources, and conflict-of-interest statements. Many journals now require ORCID iDs for authors; if so, all authors must have an ORCID (a free researcher ID).
Upload Files: Attach your main document (often Word or PDF without author names for double-blind review, if required), figures, and any supplementary files (e.g. data tables, code, etc.). Also upload cover letter (see next section). Fill in any checkboxes (e.g. "I confirm this work is original, not published, not under review elsewhere," etc.).
Suggest Reviewers (optional): Many journals ask for 3–5 possible reviewers (experts in the field who have no conflict of interest). This is not mandatory everywhere, but consider suggesting constructive experts (avoid close collaborators or competitors unless allowed). Follow the journal's rules for reviewer suggestions.
Final Checks: Review the entered information carefully. Many systems have an author checklist (ensuring you've included all required sections, statements, file formats). Some even check for plagiarism.
Once submitted, you will usually receive an email confirming receipt and giving you a manuscript reference number. The paper will then go to the editor for initial screening. If your submission misses something (e.g. missing conflict statement, poor file format), the editorial office may ask you to fix it before review.
Pitfall: Don't rush submission. Re-read the journal's Instructions for Authors to ensure you didn't skip any required element (cover letter, abstract format, word count, reference format, etc.). Journals differ: for example, some insist cover letters follow a strict structure. A common mistake is forgetting to tick the originality statement or omitting a funding disclosure; these can delay or halt your submission.
Step 7: Writing a Professional Cover Letter
A cover letter introduces your paper to the editor. It should be concise and targeted. Format: Address the editor by name if possible (find the Editor-in-Chief's name on the journal site). Start with the manuscript title and a clear statement of what type of article it is (e.g. "Original Research Article"). Then, in a brief paragraph, summarize what your paper reports and why it is important. Explain why it fits this journal.
For example: "Dear Dr. Smith, Please consider our manuscript entitled "Title" for publication in Journal Name. In this work, we address [problem] and find [key result], which we believe will interest readers of your journal because [reason tied to journal's scope]." Highlight any novelty: e.g. "This is the first demonstration of X under conditions Y." You may also briefly mention related work by you or others to show context.
Include the essentials (as Taylor & Francis advises): the editor's name, manuscript title, journal name, a statement that the work is original (not published or submitted elsewhere), authors' contact info, and any disclosures of conflicts or prior postings. Conclude with a courteous sentence like "Thank you for your consideration" and list the corresponding author's name and contact. Keep it to one page or fewer.
Cover Letter Example
Dear Dr. [Editor Name],

We submit our original research article titled "Efficient Dendrimer Nanoparticles for Targeted Drug Delivery" to Journal X. In this study, we synthesize and characterize a novel nanoparticle (nanogel) that achieves a 2.5-fold increase in tumor cell uptake compared to existing carriers. We confirm the mechanism through in vitro assays and demonstrate improved survival in a mouse model. These findings advance the field by providing a new platform for cancer therapy that overcomes current delivery limitations. We believe that Journal X's readers will be particularly interested in these results given your focus on translational nanomedicine.

This manuscript has not been published or submitted elsewhere, and all authors have approved its submission. We have no conflicts of interest to disclose.

Thank you for considering our work. Please let us know if you need any additional information.

Sincerely,
[Your Name], Ph.D., on behalf of all authors
Tip: Never copy your abstract verbatim. Use the letter to emphasize significance and fit. Avoid overly casual language or jargon. Be professional and succinct. If possible, have your advisor or a mentor review the draft before sending. A strong cover letter can help move your paper to peer review.
Step 8: After Submission – The Peer Review Process
Once submitted, your paper enters the journal's workflow. First is an editorial check (quality control, plagiarism, scope). If it passes, it is sent out for peer review. Typically, 2–4 experts will be invited to evaluate your manuscript. This process often takes weeks to months (the exact timeline varies by journal). Most journals today provide an online tracking system where you can check the status using your manuscript ID.
Common outcomes of initial review are: Accept (rare on first submission), Minor Revision, Major Revision, or Reject (with or without review). If revision is invited, the editor will send you reviewer comments and a decision letter. Sometimes the editor summarizes the key issues; sometimes you only get the raw reviews. According to Wiley's editorial overview, after all reviews are in, the "editor sends a decision email to the author, including any relevant reviewer comments".
Timeline: There is no fixed rule, but many journals take 1–3 months for the first decision. In some fields, review can be faster; in others (e.g. math, some humanities) it may take longer. If you haven't heard back after 2–3 months, it's reasonable to send a polite inquiry to the editor. Use your reference number to check the online status first; most systems show stages like "Editorial Office Check," "Review," etc.
Common Outcomes
Minor Revision: Reviewers want small changes (clarifications, extra citations, minor experiments). If you address these well, your paper is likely to be accepted in the next round.
Major Revision: More substantial work is needed (additional analyses or experiments, reorganization, extensive rewriting). Almost all journals allow one major revision opportunity, but treat the comments seriously.
Reject with Encouragement to Resubmit: Sometimes you may be told to do major work and resubmit as a new submission. This is effectively a strong revision request, but note if it stays at the same journal or they ask you to consider a sister journal.
Reject: The most disappointing outcome is an outright rejection. This could be "desk rejection" (by the editor without peer review, often due to scope or priority) or after review (if reviewers find fatal flaws or you don't fit the journal's criteria).
Pitfall: Don't panic or argue if you're unhappy with reviewers. Rejection and revision are extremely common – as one editor puts it, "rejection happens to all of us, early and established". Instead, prepare to learn from the feedback. Read decision letters carefully, as they usually contain clues for improvement or better-targeted journals.
Step 9: Responding to Reviewer Comments
When you receive a revision decision (minor or major), the editor will expect a Response to Reviewers document along with your revised manuscript. Start this by writing a short cover note, thanking the editor and reviewers for their time and summarizing any major changes you made. Then present a point-by-point reply: copy each reviewer's comment and respond immediately below it, indicating how you addressed it. Organize this by reviewer (Reviewer 1's comments and responses in order, then Reviewer 2's, etc.). Use a polite, respectful tone throughout.
Example Response Format
Reviewer 2 Comment: "The manuscript lacks information on the stability of the nanoparticles over time."

Author Response: "We thank the reviewer for this valuable suggestion. We have now added a stability assay to the Results section (new Fig. 4), showing nanoparticle integrity for 30 days (see Revised Manuscript page 7, lines 110–120). The revised text explains these results and confirms that the particles remain stable under the tested conditions."
Always be polite and even appreciative. Even if a comment seems unfair, respond as if it were a misunderstanding you can fix. The PLOS "Ten Simple Rules" guide emphasizes this: "If the reviewer failed to understand something, apologize for not making it clear" and revise to improve clarity. Do not say "the reviewer is wrong" or anything defensive. If you disagree with a suggestion, you can respectfully say you considered it but chose an alternative approach, briefly justifying why. For instance: "We respectfully disagree that X is needed, because Y (supported by citation), but we have added a sentence clarifying our rationale."
Use clear formatting in your response document: italicize reviewer comments, use regular text for your replies, and cite the page/line numbers of the revised manuscript where changes were made. This makes it easy for editors and reviewers to verify your changes. Editors expect that each comment is either addressed or explained. The goal is to demonstrate you've thoroughly considered all feedback.
Practical Tip: "Begin with a letter to the handling editor and reviewers, in which you thank the reviewers for their useful feedback and say you believe you've addressed all comments," as advised by experienced researchers. Then quote comments and address them in order. Keep it organized and professional. Before resubmitting, double-check that you actually made all promised changes in the manuscript.
Step 10: Dealing with Rejection and Resubmission
Receiving a rejection is hard, but it's a common part of the process. First, take a deep breath. Renowned editor Gail Sullivan advises treating rejection "as carefully as instructions to cash in a winning lottery ticket". Read the decision letter and reviews calmly. If you're upset, walk away from it for a day, then come back and reread with a clear mind. Look for any constructive criticism you can use to improve the paper. Often, comments from a harsh review can be turned into guidance for strengthening your work.
If the journal provided detailed reviewer comments, use them: revise the manuscript accordingly. Rejections often mean "We cannot publish this yet," not "This work is worthless." You might fix major flaws or additional experiments and then submit to the same journal or a different one. If the editor suggested a more suitable journal, consider it seriously. In any case, when resubmitting elsewhere, include a new cover letter (or at least a note to the editor) explaining how you've addressed previous feedback.
For example, the Journal of Graduate Medical Education notes that papers initially rejected may ultimately "find a home, with rewrites or better targeting to a more suitable journal". If you decide to try another journal, don't ignore prior comments. If a reviewer pointed out a flaw, correct it first – a new journal's reviewers may catch it otherwise.
Common Pitfall: Don't take rejection personally or disparage the reviewers. Instead, respond professionally. It's okay to feel disappointed, but use that feedback to improve the paper. Share the reviewers' criticisms with co-authors or your advisor; sometimes their perspective can help you see changes you missed. Then move forward with confidence: many published papers started as rejections elsewhere.
Step 11: Final Acceptance and Publication Process
Once a manuscript is accepted, you've successfully navigated peer review! But the process isn't quite over. The editor will send an acceptance letter, often along with proofs. Read this letter carefully – it may include final instructions (e.g. confirming author order, signing copyright agreements, or selecting open-access options).
Next is production: copy-editing, typesetting, and proofreading. Within a couple of weeks after acceptance, most journals send you page proofs (the formatted version of your article) for final review. Carefully check the proofs for any remaining typos, formatting errors, or figure issues. Pay special attention to author names, affiliations, and grant numbers – these are harder to change later. Respond promptly (usually within a week or two) with any corrections. Keep your cover letter handy – some journals use your earlier cover letter responses to track final changes.
After you approve the proofs, the paper is scheduled for publication. Many journals publish articles online with a DOI before assigning them to a printed issue ("online first" or "in press"). You may get a publication date and the final citation (with volume/issue/page). Sometimes you'll need to complete a copyright form or choose a license (especially if open access). After publication, promote your work: share on academic networks, deposit the accepted manuscript in your institution's repository if allowed, and consider writing a brief summary or blog post to reach a wider audience.
Tip: In the meantime, update your CV and dissertation committee on the good news – accepted manuscripts are often listed as "in press" once the DOI is issued. If your field values rapid dissemination, remind yourself that the key part – peer review – is done, and now it's just mechanics.
Common Pitfalls & Practical Tips
Idea Stage: Don't try to publish too early. Make sure your data are solid and your question is fully defined before writing. Avoid papers that are just incremental.
Literature Review: Don't ignore negative results or contradictory studies. Address them in your introduction/discussion to show you're aware of all perspectives.
Journal Choice: Beware of predatory journals. If a journal's email solicits submissions aggressively or asks for submission fees up front, investigate before proceeding. Use only trusted publisher platforms.
Writing the Manuscript: Proofread for grammar and clarity. Consider using language editing services if English isn't your first language. (Even American students benefit from a second pair of eyes.)
Citations: Never fabricate or falsify references. Ensure you have permission for any copyrighted material.
Cover Letter: Don't be overconfident or dismissive ("My work will surely be accepted"). Also, don't lie about authorship or disclosures.
After Submission: Check your email regularly (including spam folder) in case the editor contacts you for missing information.
Revision: Don't ignore minor comments ("please clarify" or "typo") thinking only big changes matter. Editors notice if you skip trivial edits.
Rejection: Don't rage or badmouth the journal (e.g. on social media). It's unprofessional and won't help your paper. Instead, take a constructive approach.
Resources and Tools
Journal Selection Tools
- Elsevier Journal Finder
- Springer Journal Suggester
- Web of Science Master Journal List
- Committee on Publication Ethics (COPE) guidelines
Metrics
- Clarivate's Journal Citation Reports (impact factors)
- Scopus/Elsevier's CiteScore
- Google Scholar Metrics
Reference Managers
- Mendeley
- Zotero
- EndNote
Manuscript Templates
- Overleaf (for LaTeX templates)
- Journal-specific templates (ACM, IEEE, etc.)
Editing Help
- University writing centers
- Grammarly
- Taylor & Francis Editing Services
- iThenticate (plagiarism checking)
Submission Checklists
- Publisher checklists (Elsevier, Wiley, etc.)
- Journal submission portal checklists
Ethics and Reporting
- CONSORT (clinical trials)
- PRISMA (systematic reviews)
- COPE guidelines
- Journal Editorial Policies
After Publication
- Altmetric (impact tracking)
- Google Scholar Citations
- Academic social media platforms
Conclusion
Publishing a paper is a complex process, but following each step carefully will smooth the way. By planning early, adhering strictly to guidelines, and maintaining professionalism, you'll maximize your chance of getting your research into print. Good luck!